

Blog
Free 28-Day Chair Yoga for Seniors: A Week-by-Week Plan You Can Print
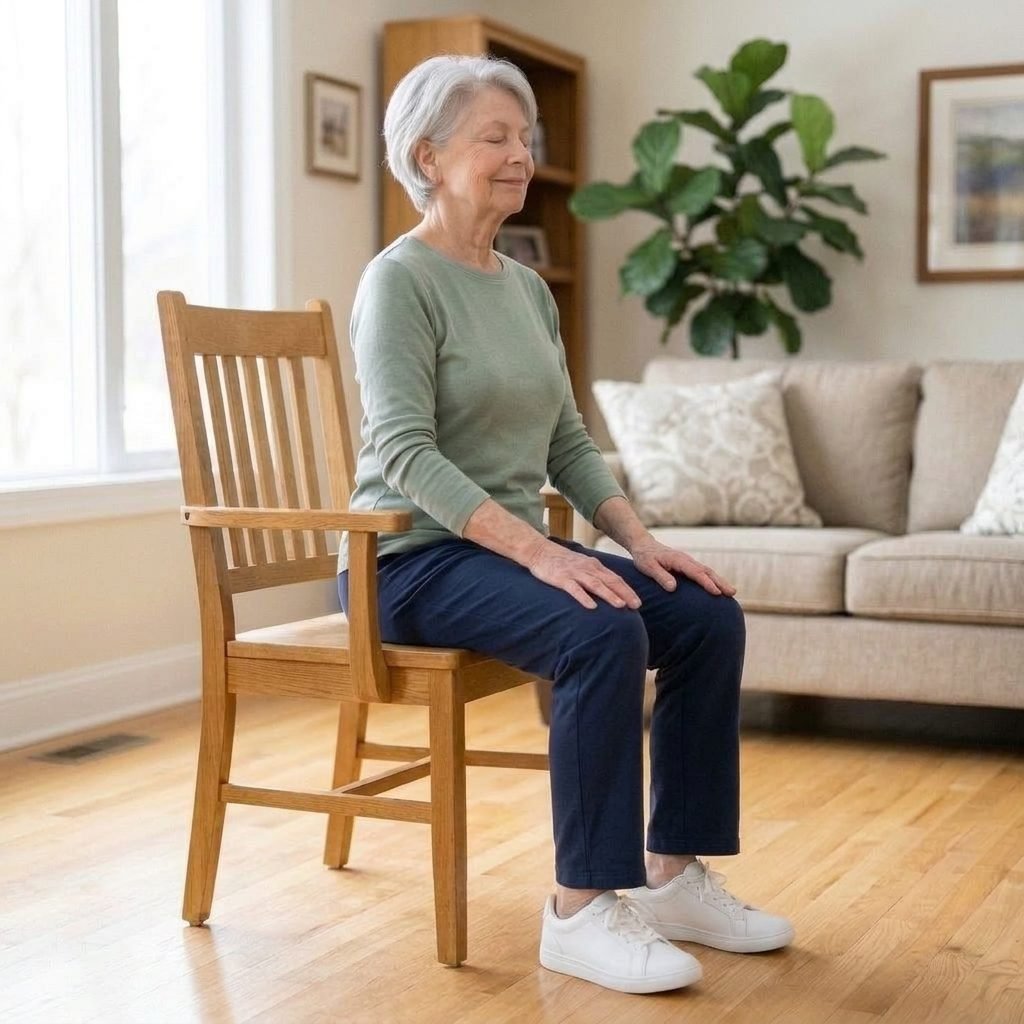
Nov
MEBy MONKIKA EL, founder of MONKIKA · Updated November 2026 · 8 min read
The short answer
Yes, you can follow a 28-day chair yoga plan for seniors for free, with no app and no subscription. Ours takes about 8 minutes a day in week 1 and about 16 minutes by week 4, 5 days a week, with 2 easy days. Each week keeps the poses you already know and adds a few new ones: breathing and loosening up, then the spine, then twists and stretches, then standing with the chair for support. The whole plan, with photos and a printable 28-day chart, is in our free PDF.

Get the free 28-day plan (PDF)
13 poses with photos, a short routine for each week and a 28-day chart. Large print, US Letter. We email it to you in seconds, and you can open it right away.
Search for a 28-day chair yoga challenge and many of the results are apps with a subscription after the free trial. You do not need one. A sturdy chair, a printed plan and ten minutes a day are enough. We built this plan for our customers’ parents and grandparents, with the same rule for every pose: slow, small, and never painful.
The 28-day plan at a glance
| Week | Focus | New poses | Time a day |
|---|---|---|---|
| Week 1 | Breathe and loosen up | Seated mountain breath, Neck stretch, Seated reach up, Seated march, Ankle flex and point | About 8 min |
| Week 2 | Open your spine | Seated cat-cow, Seated side bend | About 10 min |
| Week 3 | Twist and stretch | Seated twist, Seated leg extension, Seated forward fold | About 13 min |
| Week 4 | Stand with support | Chair pose (sit to stand), Side leg lift, Supported balance | About 16 min |
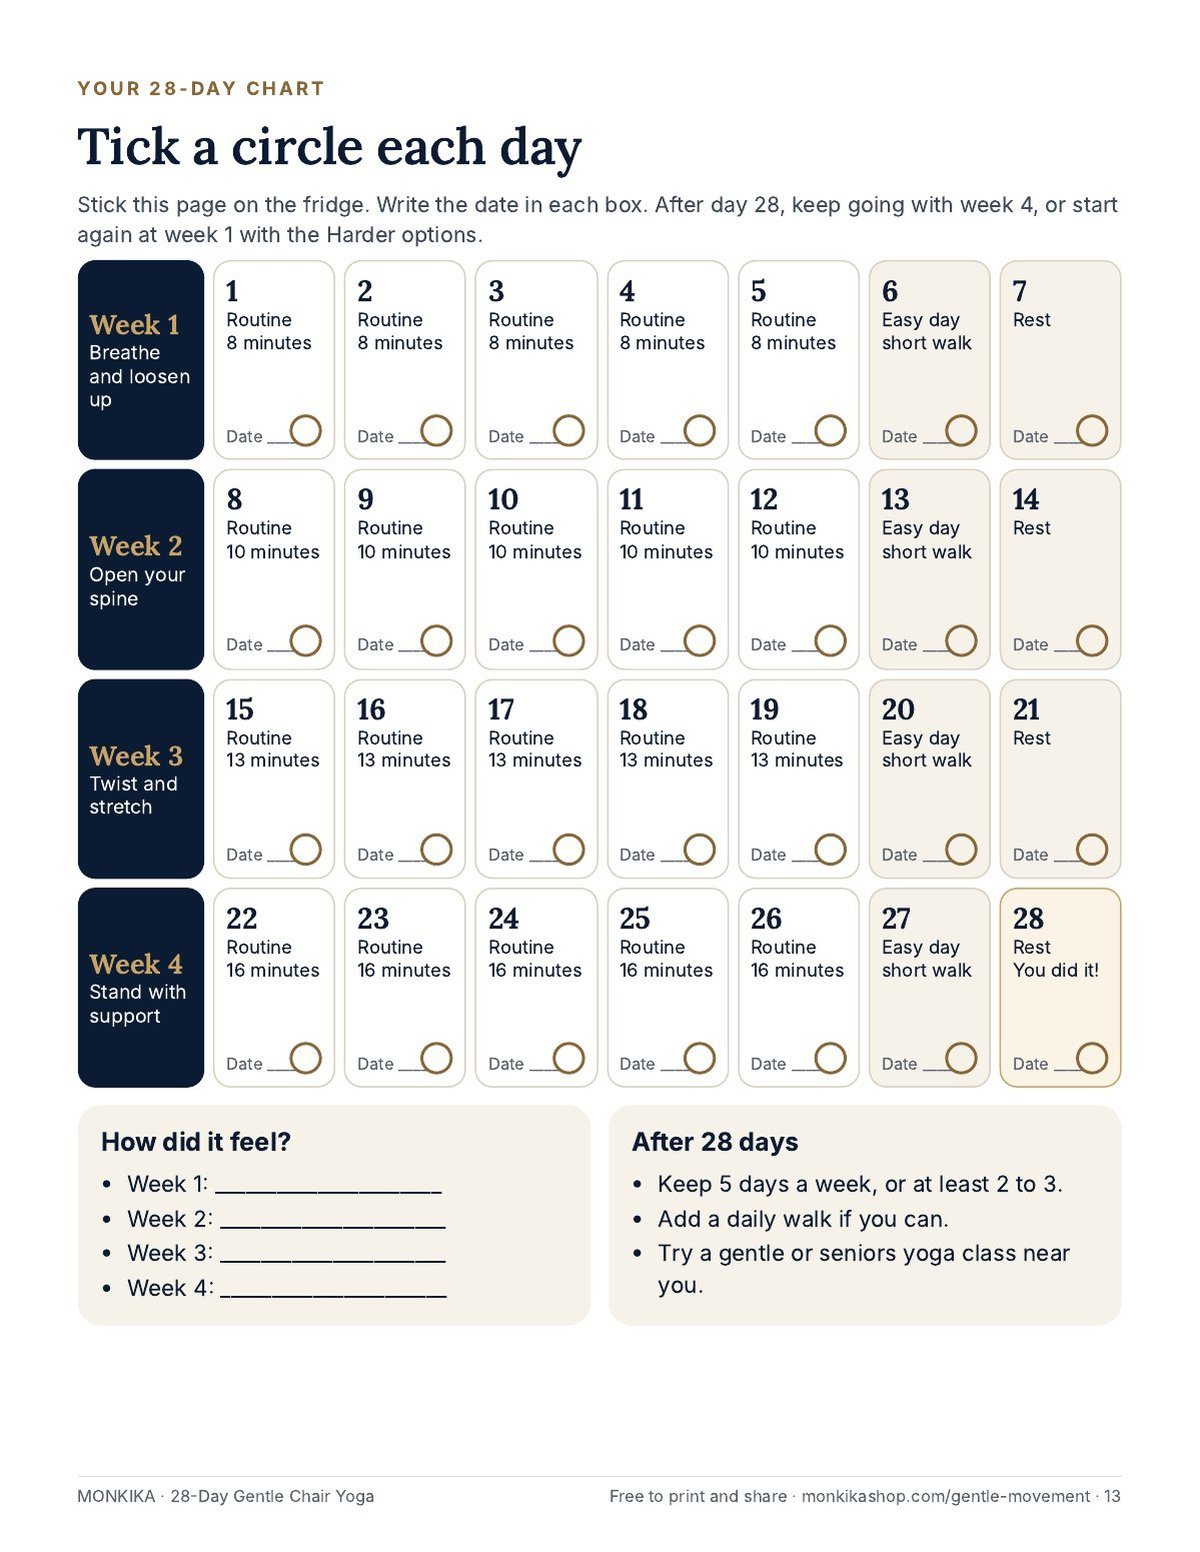
Do the routine on 5 days of the week, for example Monday to Friday. On day 6, take a short, easy walk if you can. Day 7 is rest. Every day ends the same way: sit tall, hands on your belly, eyes closed, and take five slow breaths.
If a week felt hard, repeat it before you move on. There is no prize for finishing in exactly 28 days.
Talk to your doctor first
- If you have a heart, lung, joint or balance problem, or any other health condition. The NIH’s NCCIH says older people with medical issues should talk to their health care provider before starting yoga.
- If you have osteoporosis. The Mayo Clinic advises avoiding bending forward from the waist and twisting the waist, so skip the cat part of pose 6 and poses 8 and 10 unless your doctor says they are fine.
- If you have had recent surgery, or a hip, knee or back operation at any time.
Stop and get medical help right away if you have chest pain or pressure, trouble breathing, or feel faint or dizzy.
Week 1: Breathe and loosen up (about 8 minutes)
Week 1 is about learning to move with your breath, and waking up the neck, shoulders, hips and ankles.
- Seated mountain breath (pose 1): 5 slow breaths · about 1 minute.
- Neck stretch (pose 2): 3 breaths each side · 2 times.
- Seated reach up (pose 3): 5 to 8 times.
- Seated march (pose 4): 1 minute.
- Ankle flex and point (pose 5): 5 times each way, then 5 circles.
This week: On a busy day, even pose 1 and the closing breath count as a day done. Tick the box anyway.
Week 2: Open your spine (about 10 minutes)
Week 2 adds two gentle back movements: one forward and back, one to the side.
Start with your week 1 routine, in the same order, then add:
- Seated cat-cow (pose 6): 5 to 8 rounds.
- Seated side bend (pose 7): 3 breaths each side · 2 times.
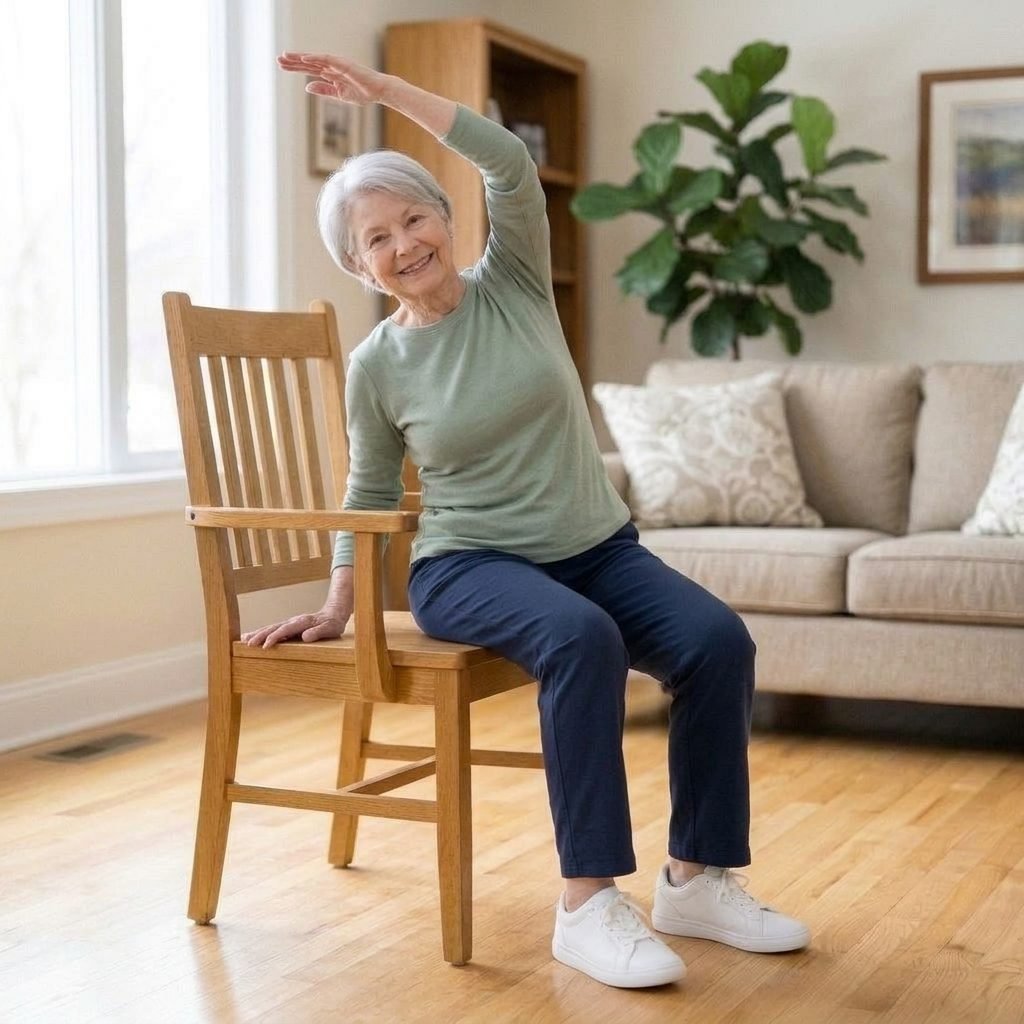
This week: Keep both movements small at first. If you have osteoporosis, skip the cat (rounded back) and ask your doctor about this week.
Week 3: Twist and stretch (about 13 minutes)
Week 3 adds a soft twist, a leg extension and a forward fold, the poses to take most gently of all.
Start with your week 2 routine, in the same order, then add:
- Seated twist (pose 8): 3 breaths each side · 2 times.
- Seated leg extension (pose 9): 8 to 10 times each leg.
- Seated forward fold (pose 10): 3 to 5 slow breaths.
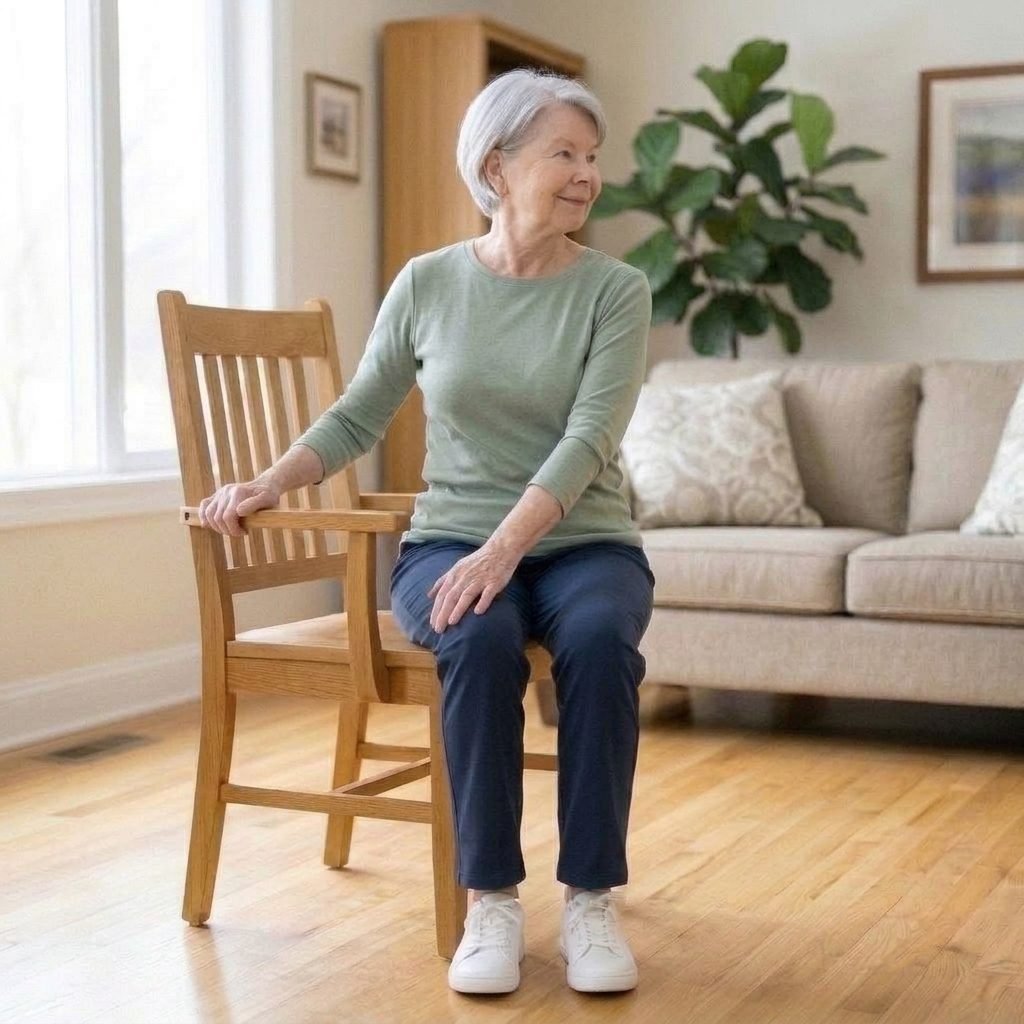
This week: Turn and fold with your breath, never by pulling with your arms. Skip these poses if your doctor has told you to avoid bending or twisting.
Week 4: Stand with support (about 16 minutes)
Week 4 uses the chair as your support for three standing poses: getting up, lifting a leg to the side and balancing.
Start with your week 3 routine, in the same order, then add:
- Chair pose (sit to stand) (pose 11): 5 to 8 times.
- Side leg lift (pose 12): 8 to 10 times each leg.
- Supported balance (pose 13): 10 seconds each foot · 3 to 5 times.
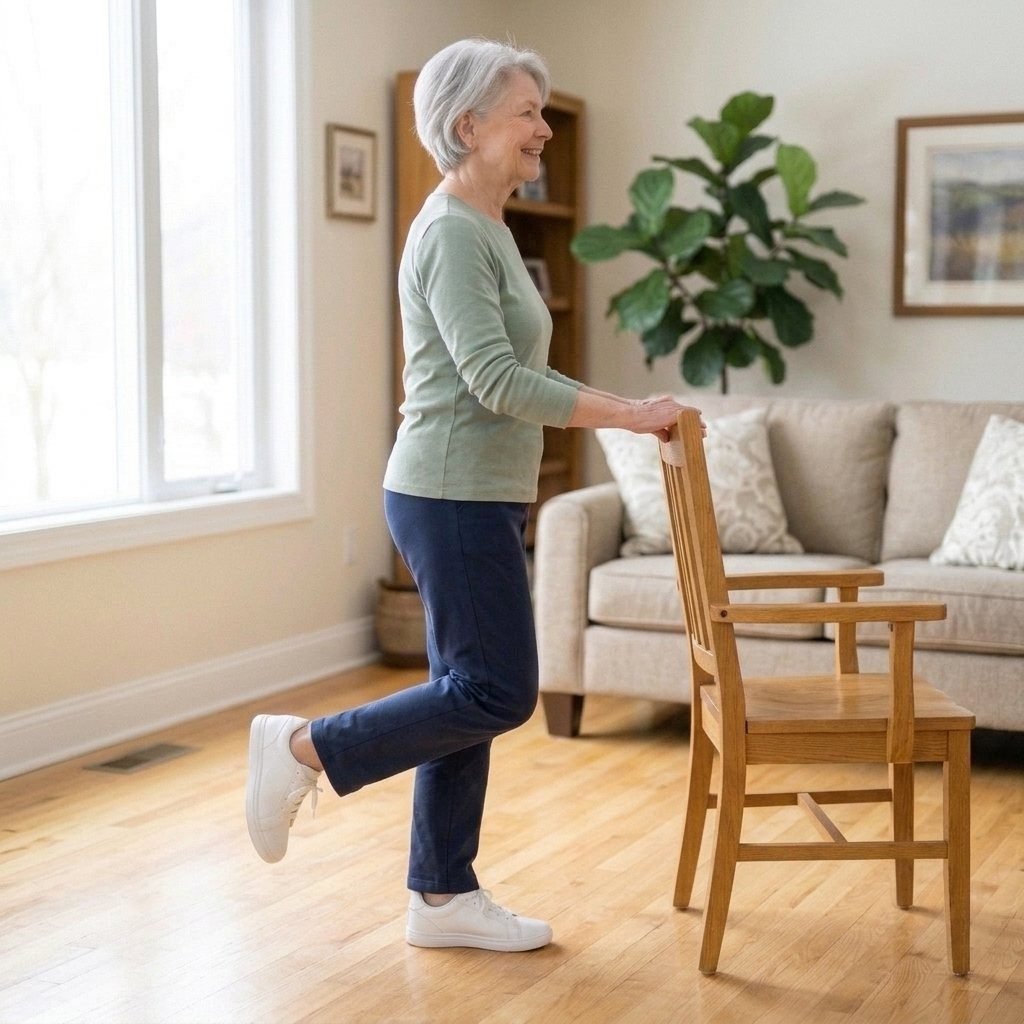
This week: Keep the chair against a wall and hold its back with both hands. Have someone nearby the first few times.
Your printable 28-day chart
The last pages of the PDF hold a chart with one box per day. Write the date, tick the circle, and note how you felt at the end of each week. Seeing a row of ticks is a surprisingly strong reason to keep going.
What to expect after 28 days
Most people notice the habit first: it gets easier to start, and the poses feel familiar. Twenty-eight days is a start, not a finish line.
Research on chair yoga is small but encouraging. In a 2017 pilot trial with 131 older adults with hip or knee osteoarthritis, people who did a 45-minute chair yoga class twice a week for 8 weeks reported that pain got in the way of daily life less than people who attended health talks, and the difference lasted about 3 months after the classes ended (Park et al., 2017). It was one small study of a class with a teacher, so it tells us nothing certain about a home plan like this one.
Chair yoga is also not the whole picture. The CDC recommends that adults 65 and older get aerobic activity such as brisk walking, muscle-strengthening activities on 2 or more days a week, and balance activities. The chair pose and the supported balance help with the last two; a daily walk adds the first.
How to stick with it
- Same time, same place. Right after something you already do every day, like breakfast or your morning coffee.
- Leave the chair out where you will see it, with the plan on the seat.
- Do it with someone, in the same room or on a video call.
- Missed a day? Carry on the next day. Missed most of a week? Repeat that week.
- Tired or sore? Do only poses 1 to 5 and the closing breath.
- After day 28, keep the week 4 routine, or start again at week 1 with the Harder options.
Optional: warm up stiff joints first. Some people like a few minutes of warmth on stiff knees or cold feet before they start, with a warm towel, a heating pad or a heated massager. If you would like a cordless option, that is what we make: the MONKIKA Knee Massager. Use heat before your session, not during, and never on numb skin.
Questions about the 28-day plan
Yes. Enter your email and we send you the PDF, and you can open it right away on the page. No app, no trial, no subscription.
Poses 1 to 10 are done sitting. Many people do seated poses in a wheelchair with the brakes on, but ask your physical therapist which ones suit you, and leave out the standing poses 11 to 13.
Carry on the next day. If you missed most of a week, repeat that week before moving on.
You can repeat the breathing and the first few poses at another time of day. Keep the full routine to once a day in the first weeks.
Not on its own. This plan is gentle and burns few calories. It is about moving more easily. Walking and what you eat matter far more for weight.
Ask your doctor or physical therapist first. Use the Easier options, keep the movements small and skip any pose that hurts. On stiff mornings, try your session later in the day.
Day 1 can be tomorrow morning.
The free PDF: the full 28-day plan with photos of every pose, a routine for each week and a chart for the fridge.
Sources
- National Center for Complementary and Integrative Health (NIH): Yoga for Health
- Centers for Disease Control and Prevention: Older Adult Activity, An Overview
- Park J, McCaffrey R, Newman D, Liehr P, Ouslander JG. A Pilot Randomized Controlled Trial of the Effects of Chair Yoga on Pain and Physical Function Among Community-Dwelling Older Adults With Lower Extremity Osteoarthritis. J Am Geriatr Soc. 2017;65(3):592-597
- National Institute on Aging (NIH): Workout to Go (NIH Publication No. 11-4258)
- Mayo Clinic: Exercising with osteoporosis, stay active the safe way
This guide is for general information. It is not medical advice. Photos are illustrative images created for this guide. MONKIKA products are wellness devices for comfort and relaxation, not medical devices, and are not intended to diagnose, treat, cure or prevent any disease. If you have a medical condition, recent injury or surgery, ask a healthcare professional before starting a new exercise routine or using heat or massage.

