

Blog
Printable Chair Yoga for Seniors: 13 Gentle Poses With Photos (Free PDF)
Nov
MEBy MONKIKA EL, founder of MONKIKA · Updated November 2026 · 9 min read
The short answer
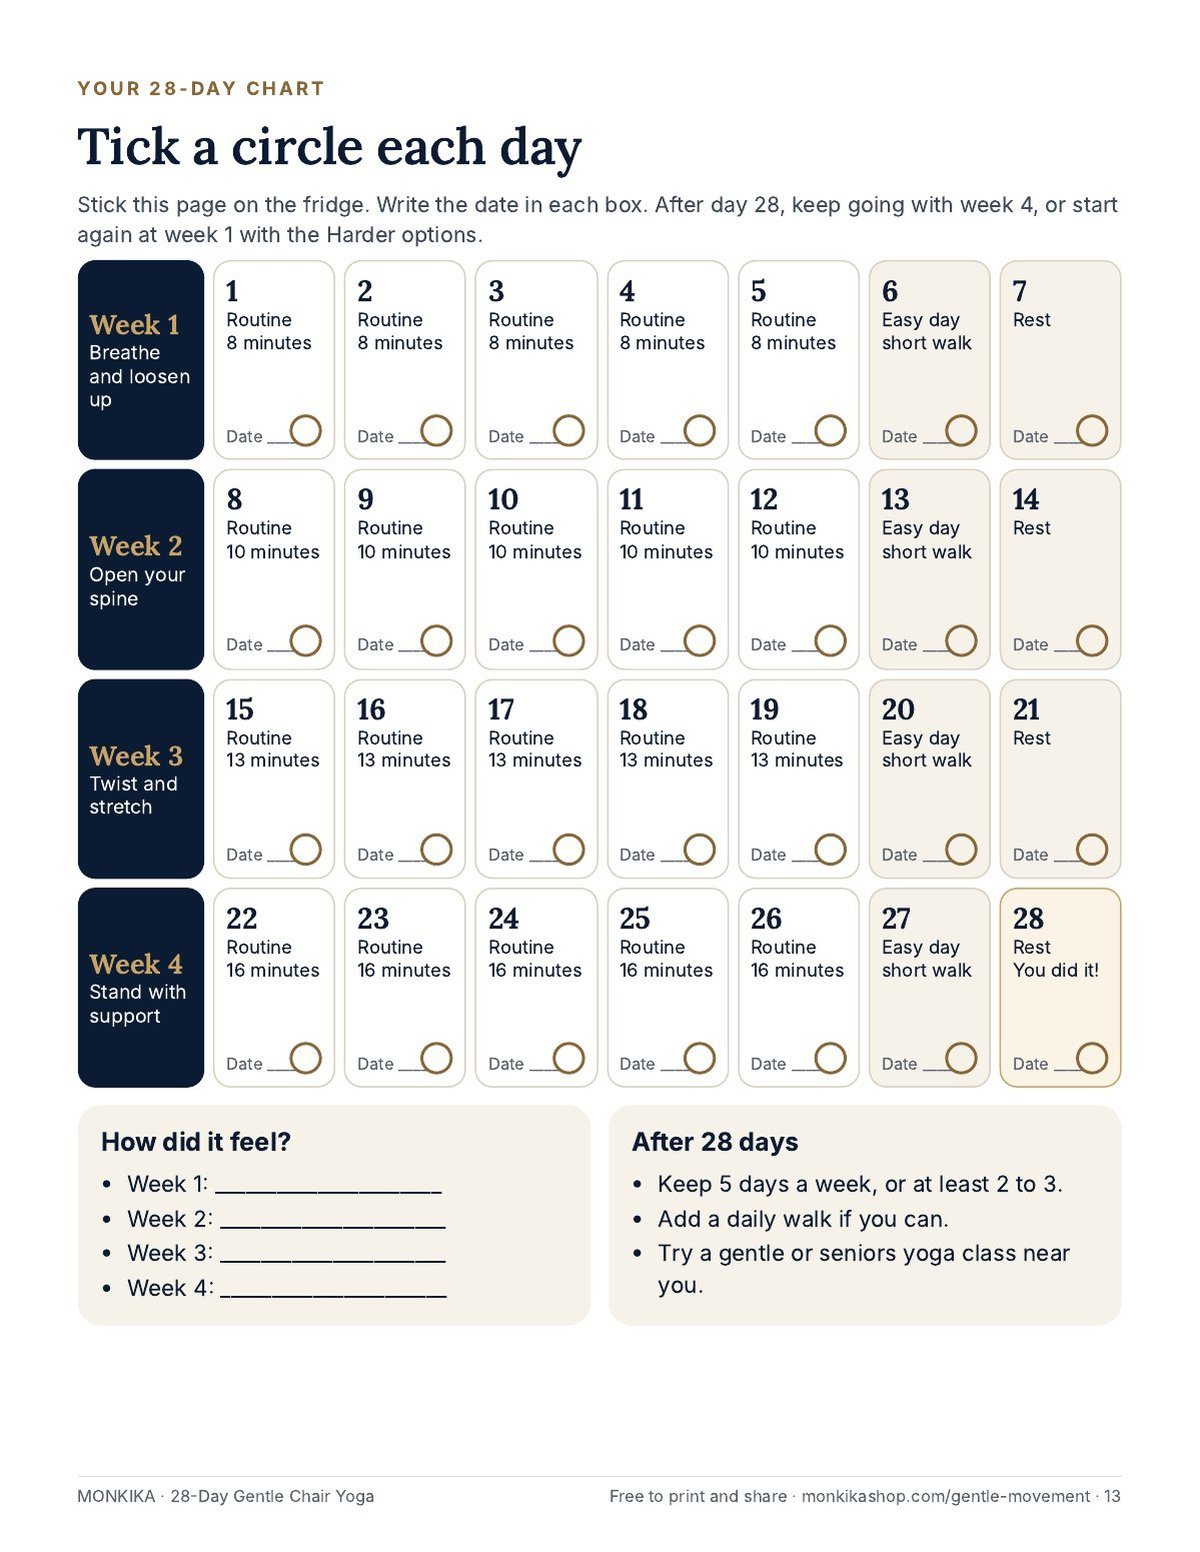
Printable chair yoga for seniors is a short set of gentle poses on paper that you keep next to your chair, so you can follow along at your own pace, with no screen. Below are 13 poses with a photo for each: 10 done sitting down and 3 done standing behind the chair, holding it. Each one has simple steps, how long to do it and an easier option. All 13 are also in our free 14-page PDF, with a 28-day plan and a chart to tick off.
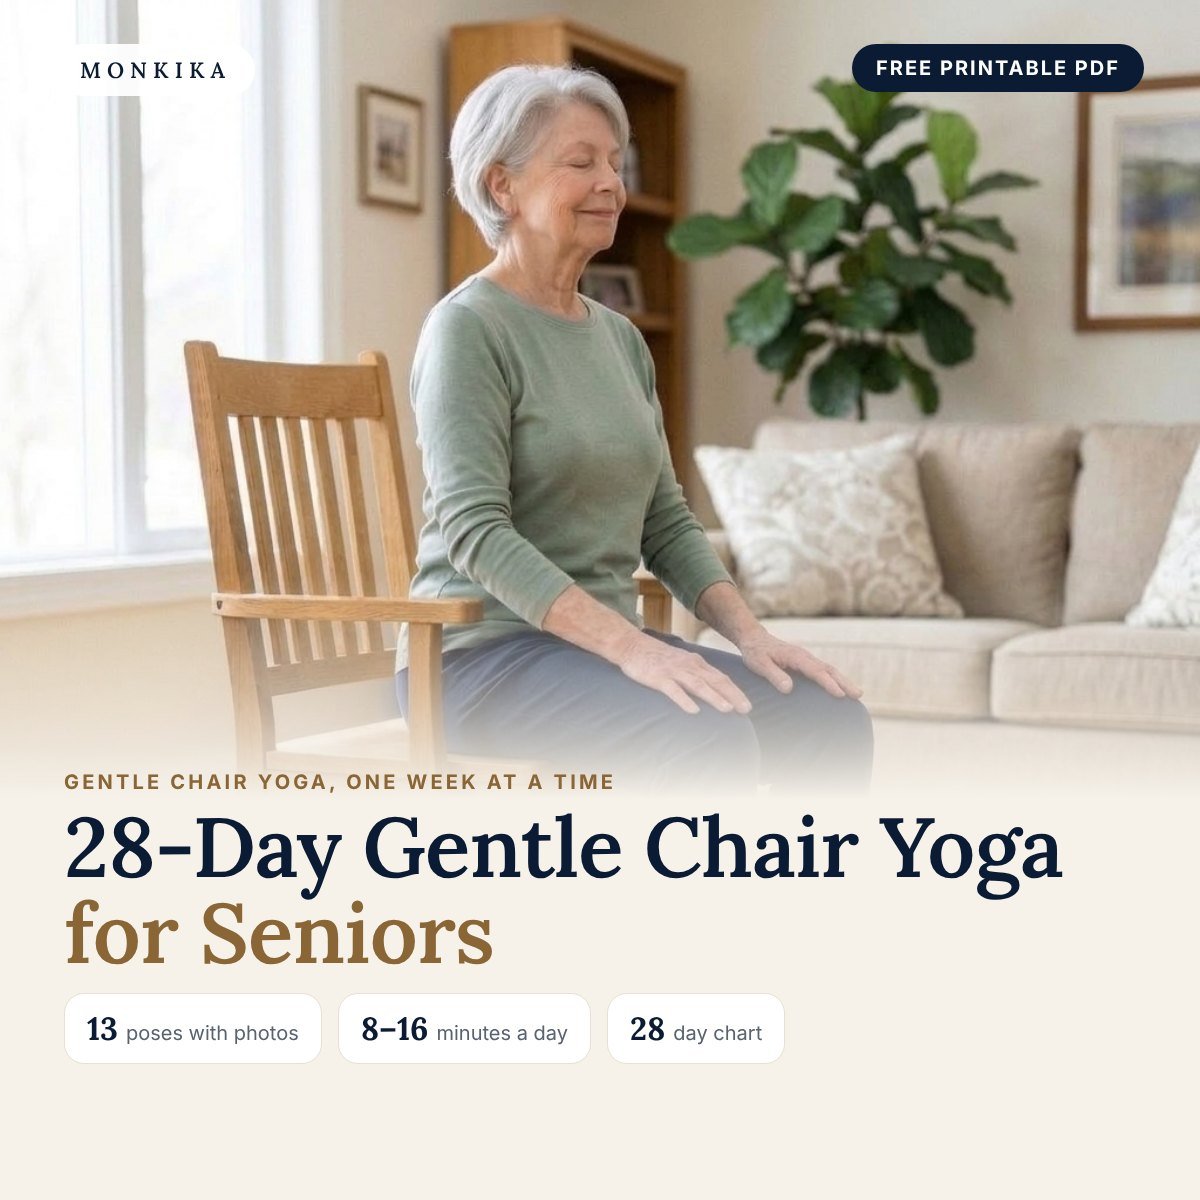
Get the free 14-page PDF
13 poses with photos, a short routine for each week and a 28-day chart. Large print, US Letter. We email it to you in seconds, and you can open it right away.
We made this guide for our customers’ parents and grandparents, and for anyone whose body feels stiffer than it used to. Chair yoga is ordinary yoga brought down to chair height: you sit for most poses and use the back of the chair for balance in the others. The NIH’s NCCIH describes it as a gentler option for seniors with limited mobility.
Why print it? A sheet of paper does not need a password, a charger or an update. You can put it on the table, read it at your own speed, and pin the chart on the fridge where you will see it every morning.
Before you start: a safe setup
- A sturdy chair with no wheels, with armrests if you have one, pushed against a wall so it cannot slide.
- Flat shoes with grip, or bare feet on a floor that is not slippery.
- Move with your breath. Breathe in through your nose, out slowly. Never hold your breath.
- No pain. A gentle stretch is fine. Pain is not: come out of the pose slowly. Exercise should not hurt, says the US National Institute on Aging (NIA).
- Someone nearby the first time you try the standing poses, if you feel unsteady.
Talk to your doctor first
- If you have a heart, lung, joint or balance problem, or any other health condition. The NIH’s NCCIH says older people with medical issues should talk to their health care provider before starting yoga.
- If you have osteoporosis. The Mayo Clinic advises avoiding bending forward from the waist and twisting the waist, so skip the cat part of pose 6 and poses 8 and 10 unless your doctor says they are fine.
- If you have had recent surgery, or a hip, knee or back operation at any time.
Stop and get medical help right away if you have chest pain or pressure, trouble breathing, or feel faint or dizzy.
Seated poses (1 to 10)
Do them in this order. Each pose has the same number as in the PDF, so you can switch between the page and the screen.
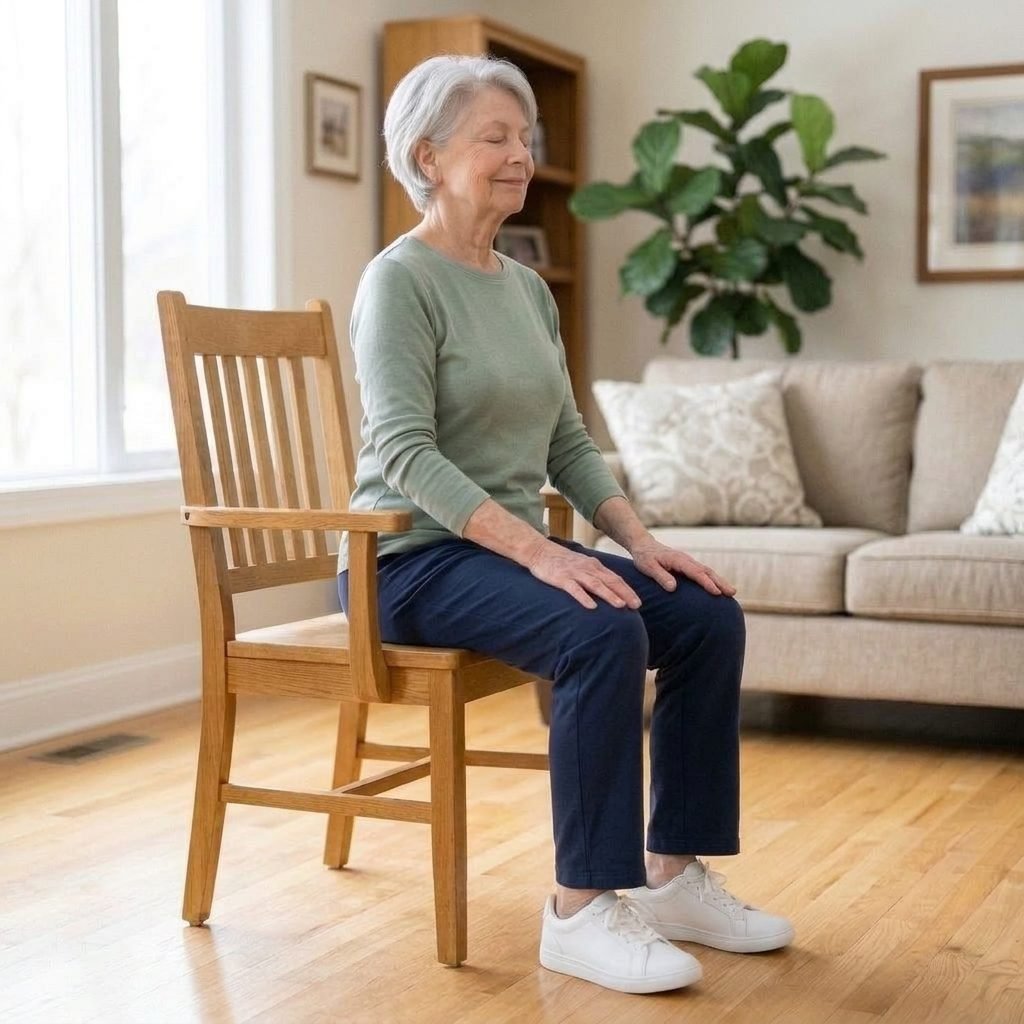
Pose 1 · Sitting
Seated mountain breath
- Sit tall in the middle of the chair, back away from the backrest, feet flat and hip-width apart.
- Rest your hands on your thighs. Relax your shoulders and close your eyes if you like.
- Breathe in slowly through your nose for a count of 4, then out for a count of 6.
How much: 5 slow breaths · about 1 minute
You should feel: Your belly and ribs widen as you breathe in. Most people feel calmer after five breaths.
Easier: Lean back against the chair.
Harder: Count 5 in, 7 out.
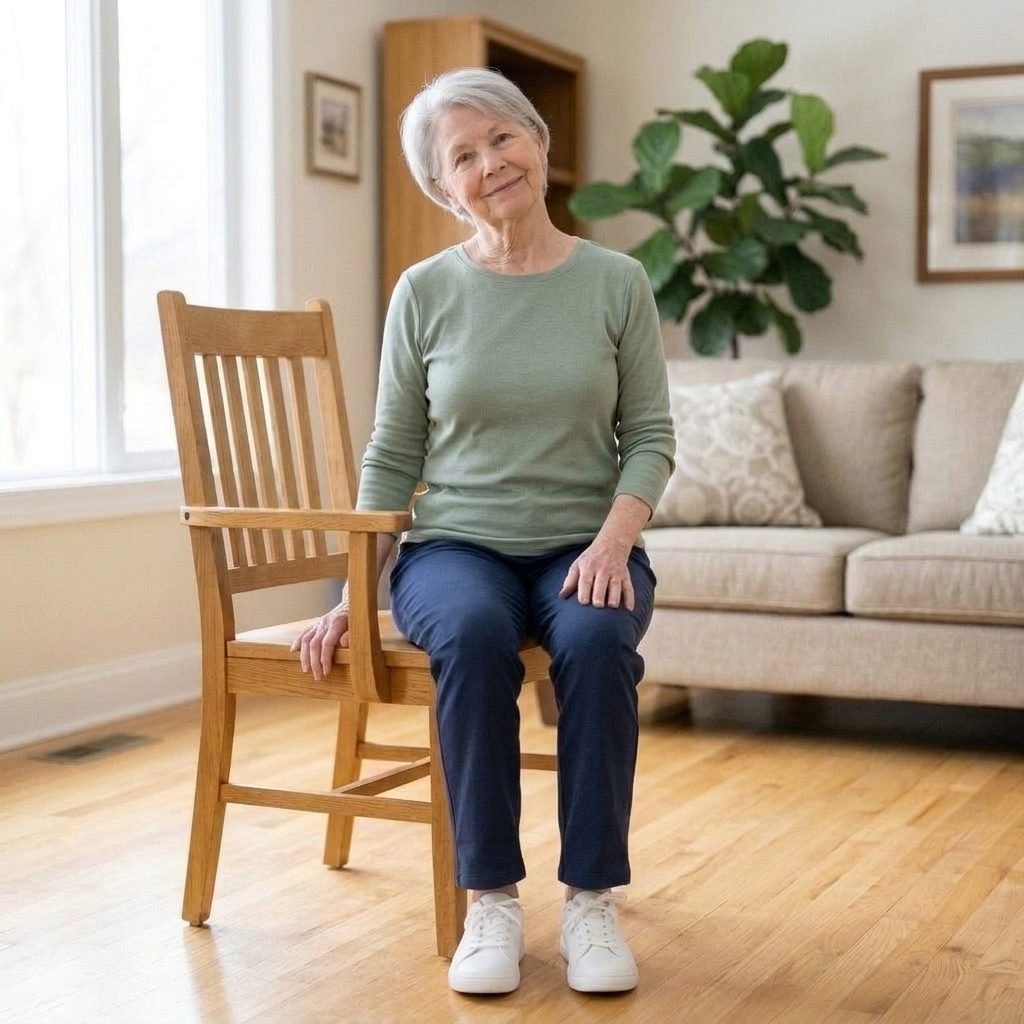
Pose 2 · Sitting
Neck stretch
- Sit tall, shoulders relaxed and low.
- Slowly tilt your head to one side, ear toward your shoulder, without lifting the shoulder.
- Stay for 3 breaths, bring your head back to the middle, then tilt to the other side.
How much: 3 breaths each side · 2 times
You should feel: A gentle stretch along the side of your neck, opposite the side you tilt to.
Easier: Tilt only a little.
Harder: Then turn your head slowly to look over each shoulder.
Take care: Never roll your head in full circles. Stop if you feel dizzy or tingling in your arms.
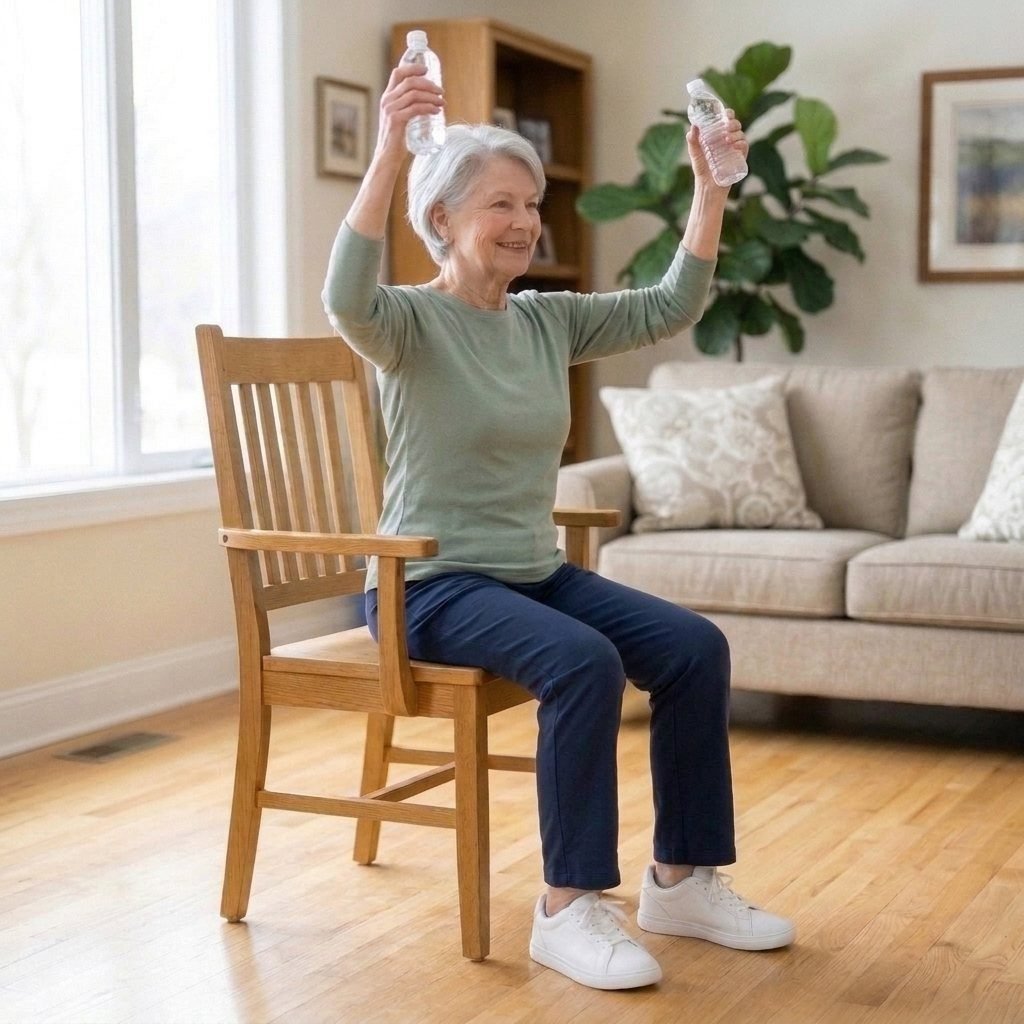
Pose 3 · Sitting
Seated reach up
- Sit tall, feet flat, arms relaxed by your sides.
- Breathe in and raise both arms in front of you and up over your head, elbows soft.
- Breathe out and lower your arms slowly. Small water bottles in your hands are optional.
How much: 5 to 8 times
You should feel: Your shoulders and upper back waking up. Your arms may feel warm.
Easier: One arm at a time, or only to shoulder height.
Harder: Hold two small water bottles, or stay up for 3 breaths.
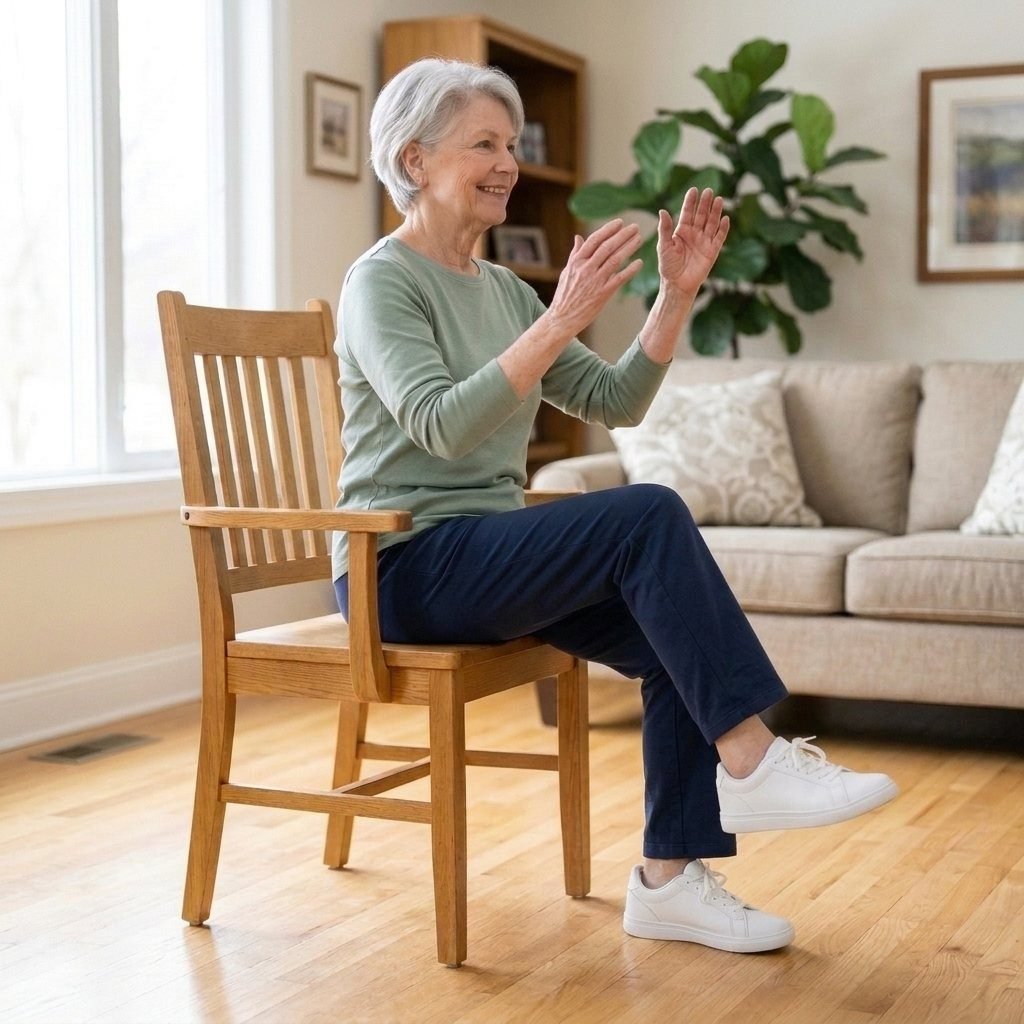
Pose 4 · Sitting
Seated march
- Sit near the front of the chair, feet flat on the floor.
- Lift your right knee a few inches, put the foot down, then lift the left knee.
- Keep a steady rhythm and swing your arms gently if that feels good.
How much: 1 minute
You should feel: Your hips and thighs working gently. Your breathing may speed up a little.
Easier: Lift only your heels, toes stay down.
Harder: March for 2 minutes.
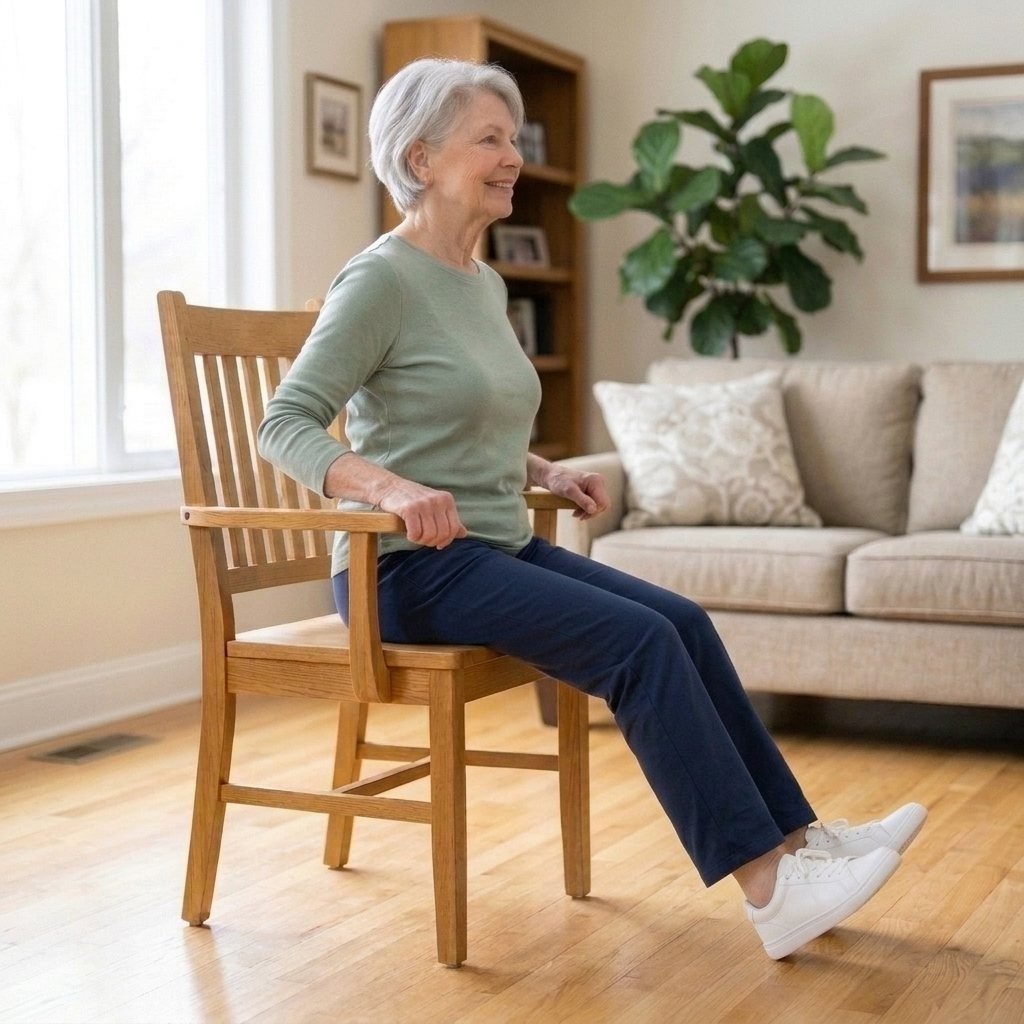
Pose 5 · Sitting
Ankle flex and point
- Sit near the edge of the chair, legs out in front, heels on the floor.
- Pull your toes toward you, then point them away from you.
- Finish with 5 slow circles each way with both feet.
How much: 5 times each way, then 5 circles
You should feel: A stretch in your calves when you pull your toes toward you.
Easier: One foot at a time, knee bent.
Harder: Hold each position for 5 seconds.
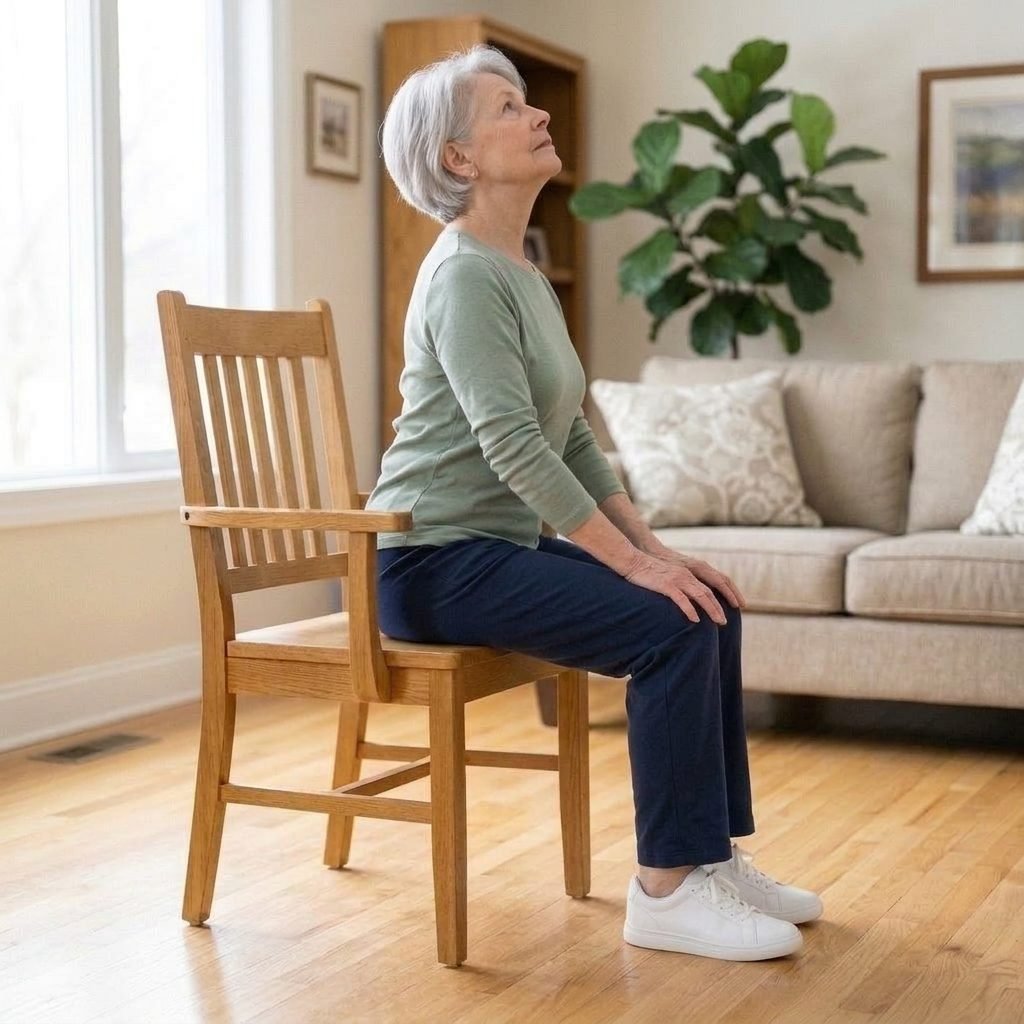
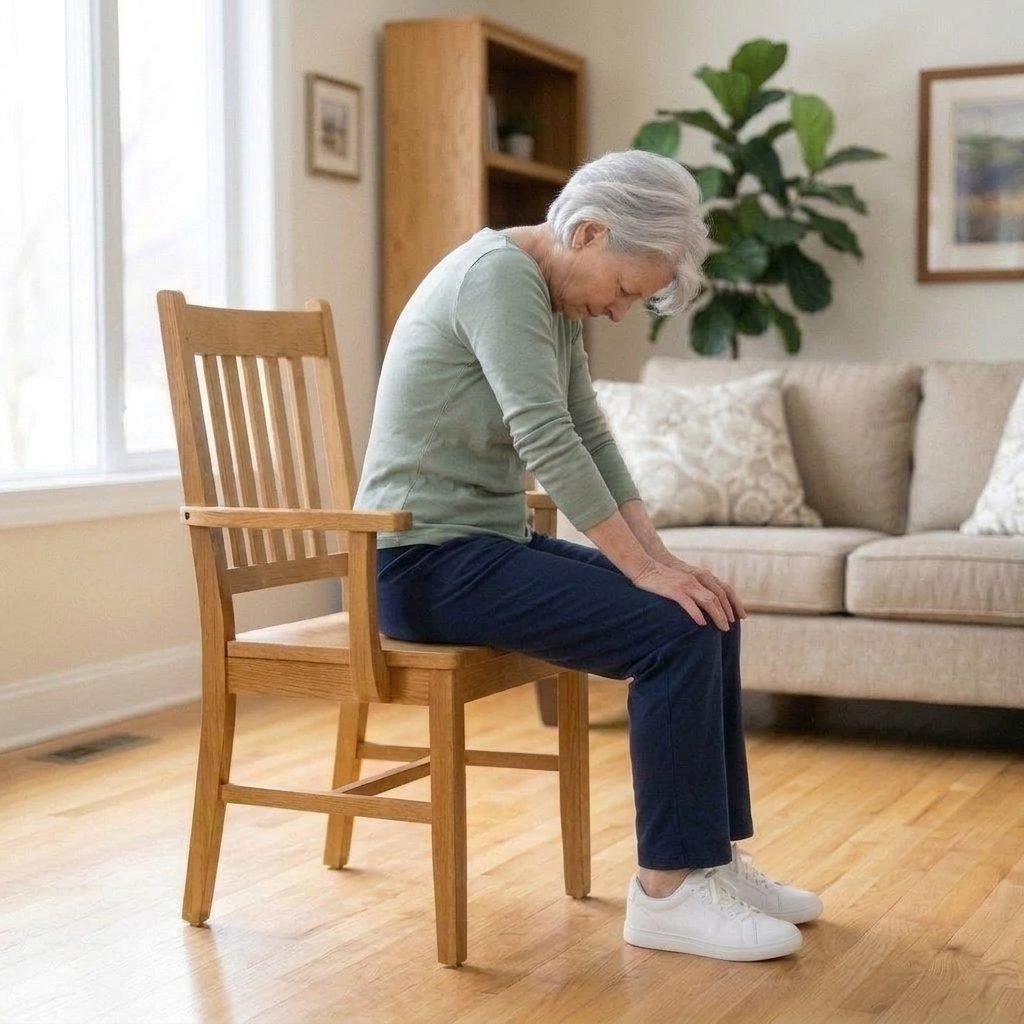
Pose 6 · Sitting
Seated cat-cow
- Sit near the front of the chair, feet flat, hands on your knees.
- Cow: breathe in, lift your chest forward and up and draw your shoulders back.
- Cat: breathe out, round your back, chin toward your chest. Move slowly between the two.
How much: 5 to 8 rounds
You should feel: Your whole back moving, one way and then the other.
Easier: Make the movement smaller.
Harder: Pause for one breath in each shape.
Take care: If you have osteoporosis, skip the cat (rounded back) and ask your doctor about this pose.
Pose 7 · Sitting
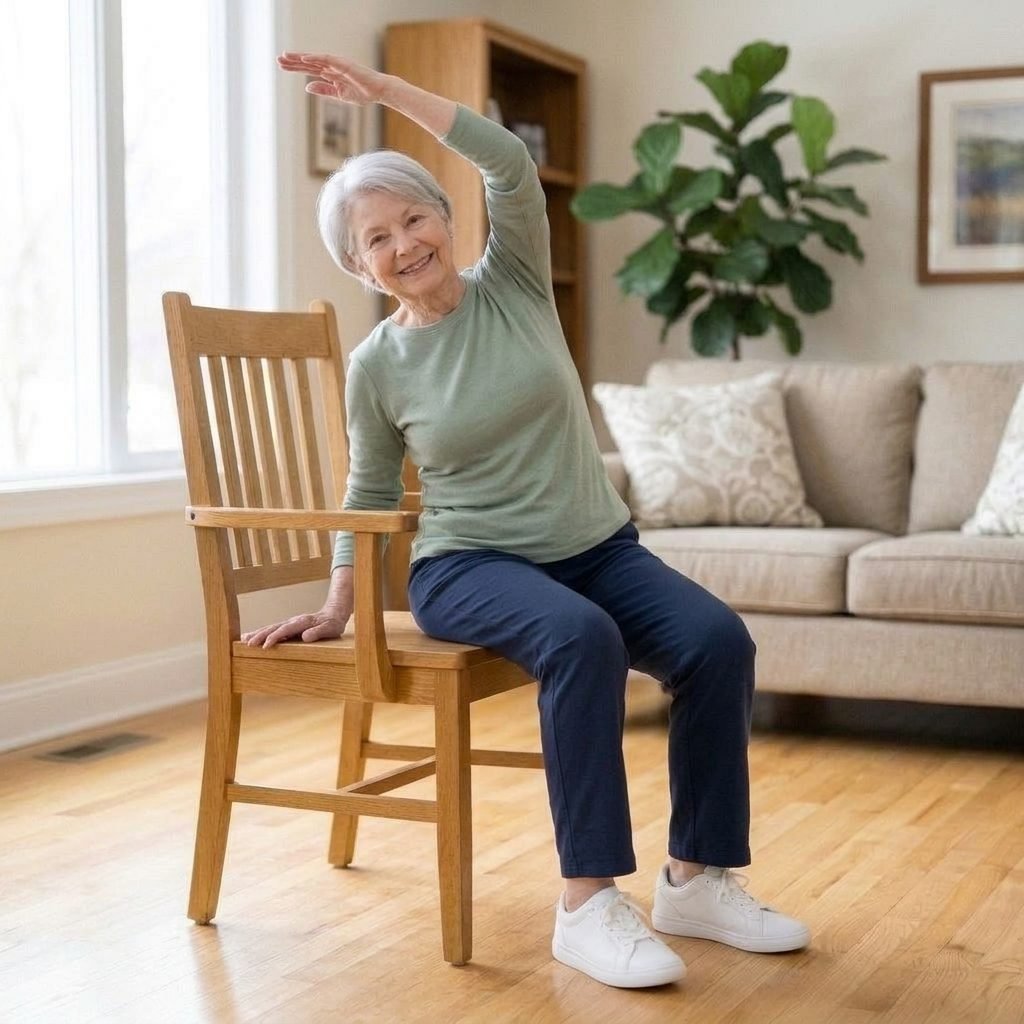
Seated side bend
- Sit tall with both hips on the seat, feet flat.
- Breathe in and raise one arm. Breathe out and lean gently to the other side, your other hand resting on the seat.
- Stay for 3 breaths, come back up slowly, then switch sides.
How much: 3 breaths each side · 2 times
You should feel: A long stretch down the side of your body, from your hip to your arm.
Easier: Hand on your shoulder instead of overhead.
Harder: Stay for 5 breaths.
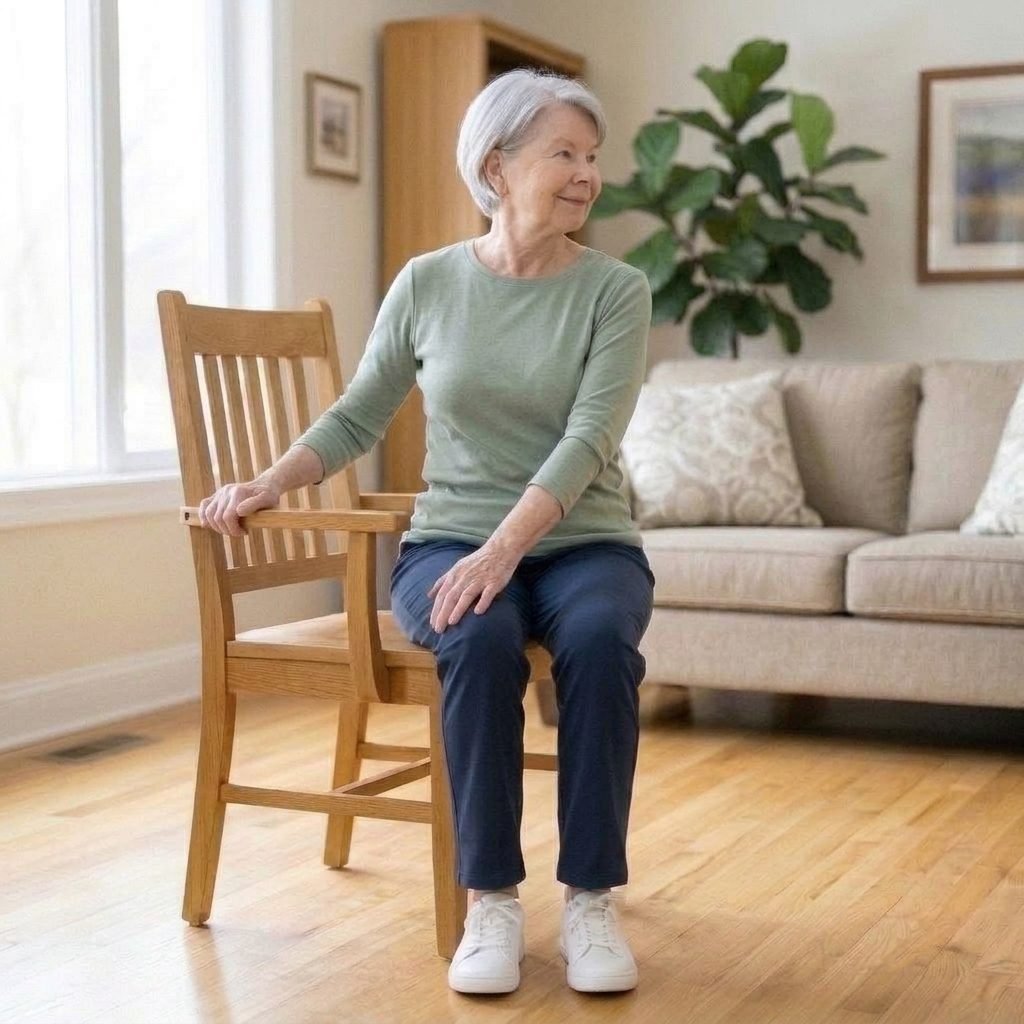
Pose 8 · Sitting
Seated twist
- Sit tall, feet flat, knees pointing forward.
- Breathe in and grow tall. Breathe out and turn your chest and head gently to one side. One hand on the opposite knee, the other on the armrest.
- Stay for 3 breaths, come back to the middle, then turn to the other side.
How much: 3 breaths each side · 2 times
You should feel: A soft turn through your middle and upper back. It should never pinch.
Easier: Turn only your head and shoulders a little.
Harder: Stay for 5 breaths.
Take care: Turn with your breath, never by pulling with your arms. Skip it if you have osteoporosis or have had back surgery, unless your doctor says it is fine.
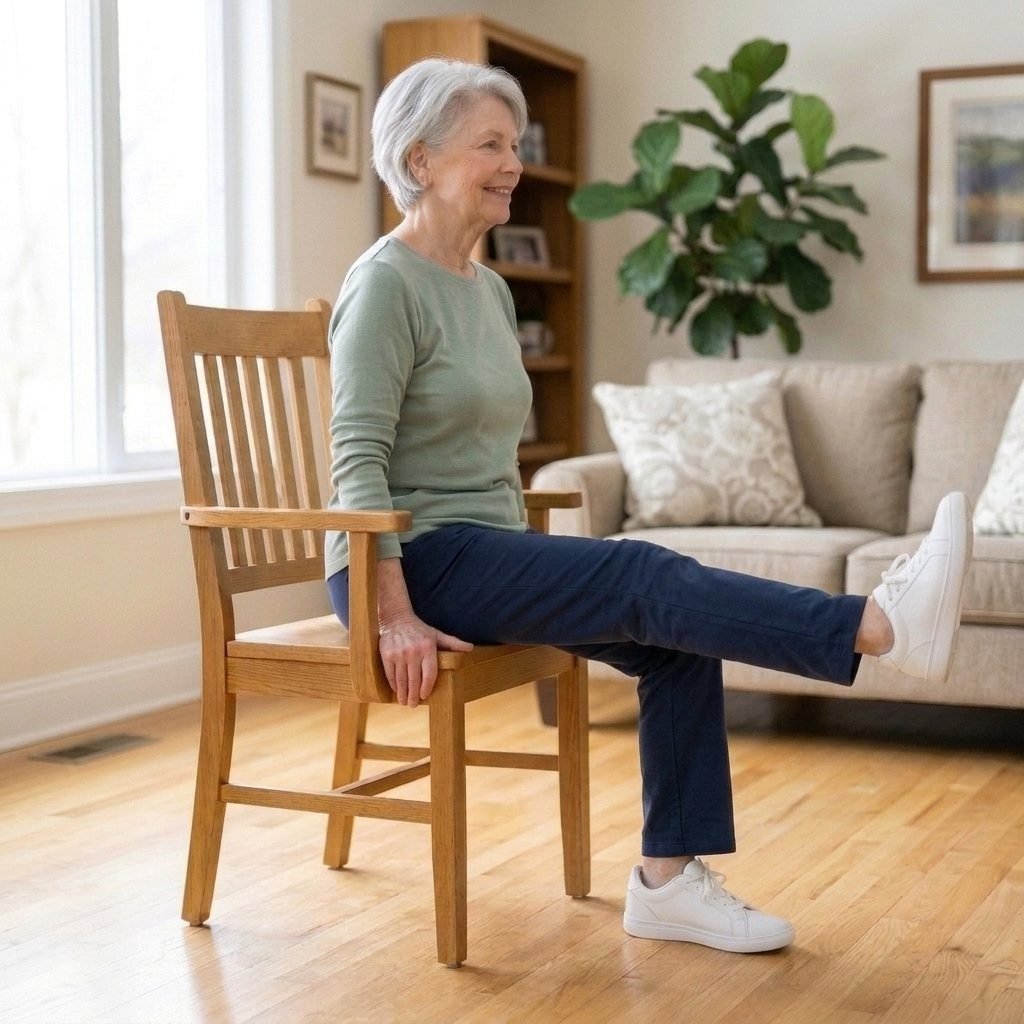
Pose 9 · Sitting
Seated leg extension
- Sit back in the chair, feet flat on the floor.
- Slowly straighten your right leg in front of you, as far as is comfortable.
- Hold for a breath, lower it slowly, then switch legs.
How much: 8 to 10 times each leg
You should feel: The muscles at the front of your thigh working.
Easier: Straighten the leg only part of the way.
Harder: Hold for 3 seconds and pull your toes toward you.
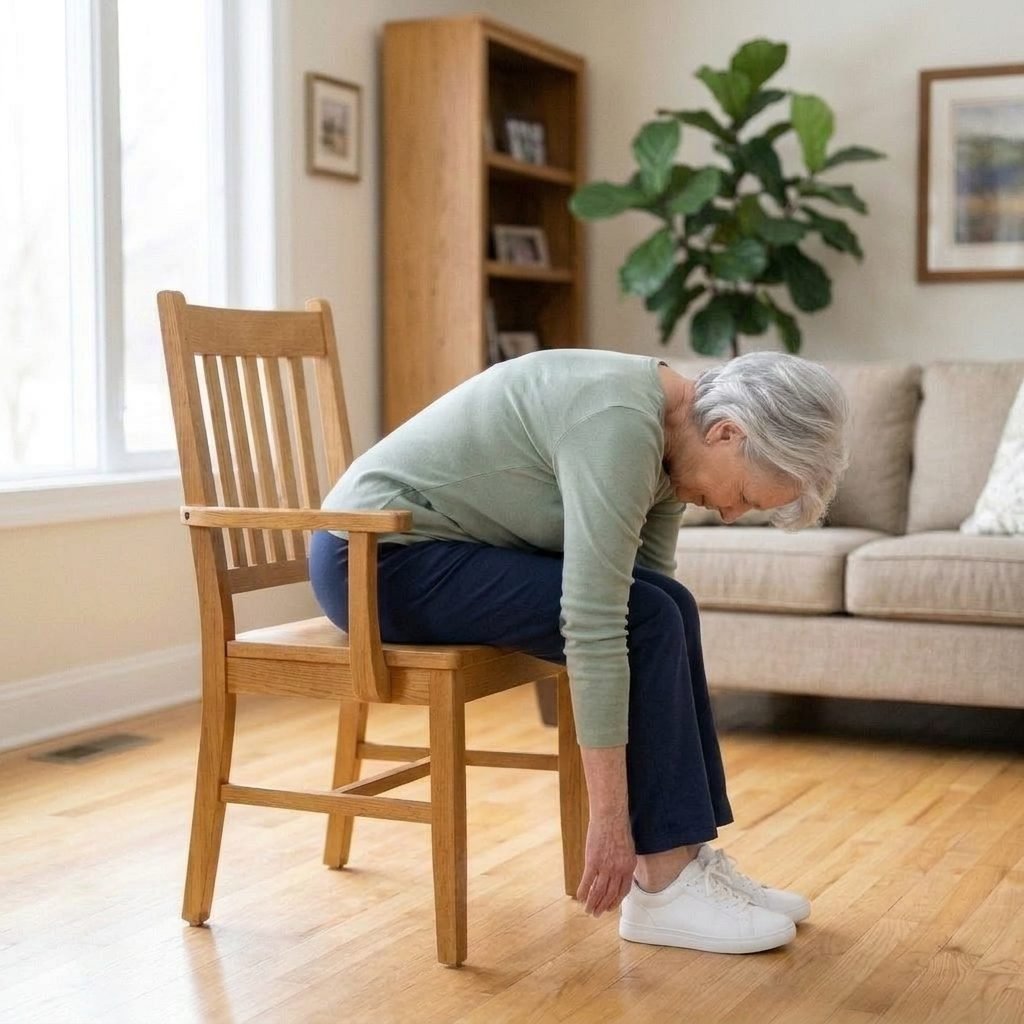
Pose 10 · Sitting
Seated forward fold
- Sit near the front of the chair, feet flat and wider than your hips.
- Breathe out and bend forward from your hips. Let your arms hang down.
- Stay for 3 breaths. Come up slowly, head last, using your hands on your thighs.
How much: 3 to 5 slow breaths
You should feel: A stretch in your lower back and the backs of your legs.
Easier: Hands on your knees, bend only a little.
Harder: Stay for 5 to 8 breaths.
Take care: Skip it if you have osteoporosis, or if bending forward makes you dizzy. Sit up slowly.
Standing poses, holding the chair (11 to 13)
Stand behind the chair with both hands on its back, the chair against a wall. Skip these poses if you feel unsteady, or ask someone to stay next to you.
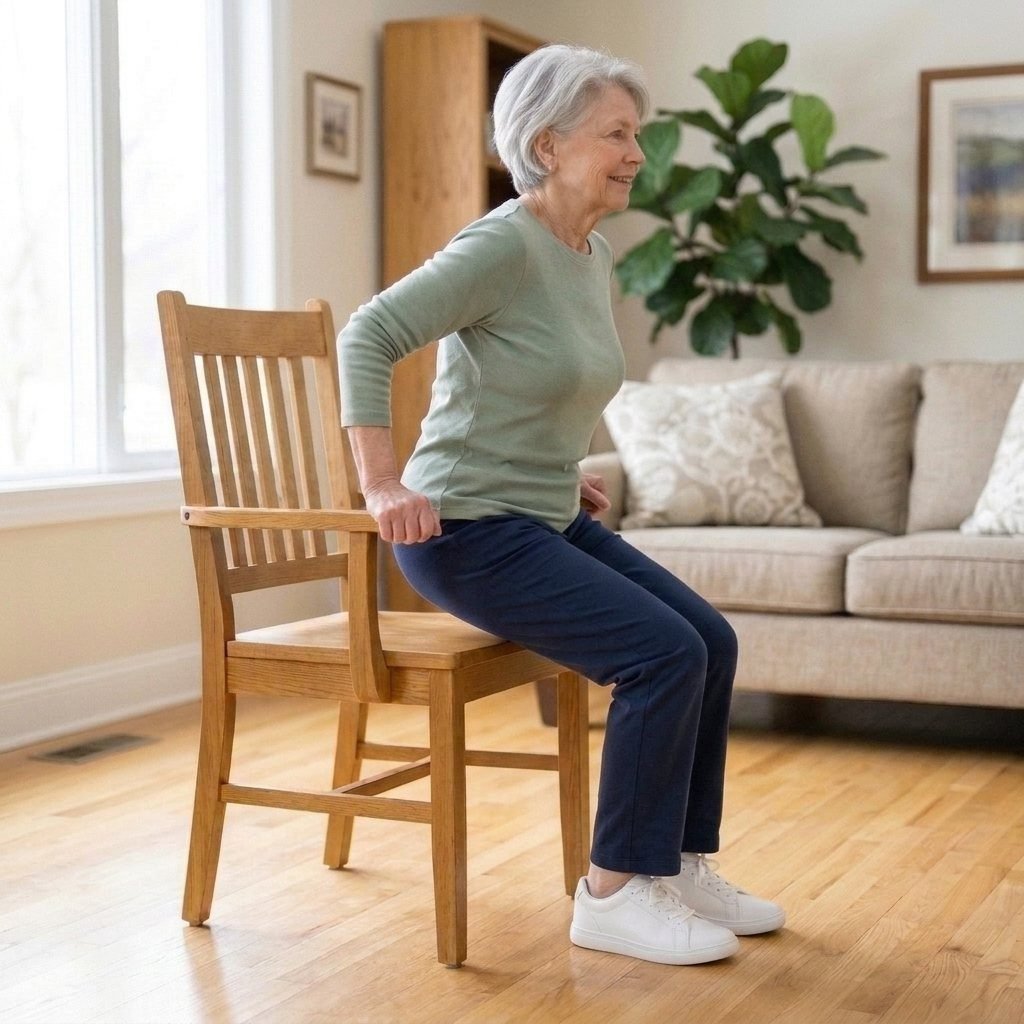
Pose 11 · Sitting, then standing
Chair pose (sit to stand)
- Sit near the front of a sturdy chair with armrests, feet flat and hip-width apart.
- Lean forward a little and stand up. Push on the armrests if you need to.
- Sit back down slowly, with control, as if you were about to sit on a low stool.
How much: 5 to 8 times
You should feel: Your thighs and buttocks working. This is the pose for getting out of chairs.
Easier: Use your hands on the armrests.
Harder: Cross your arms over your chest.
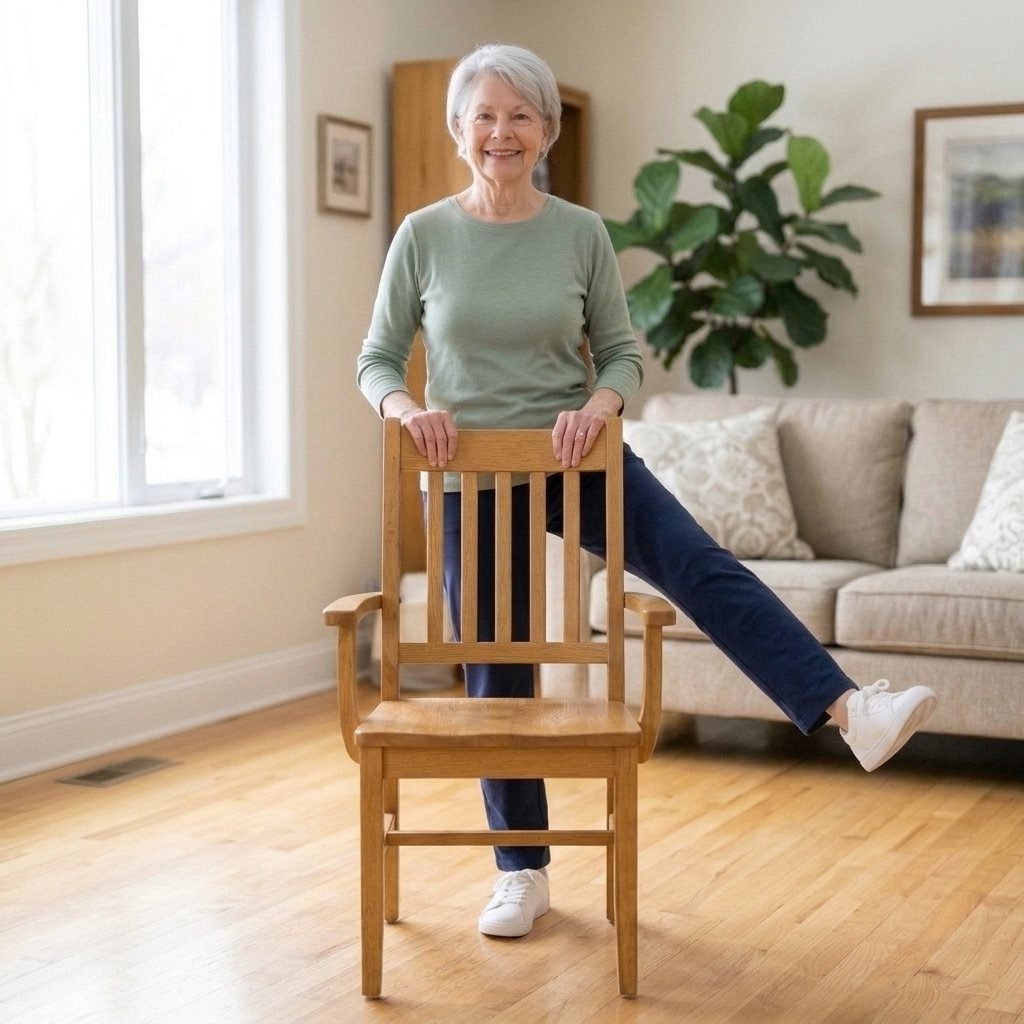
Pose 12 · Standing · holding the chair
Side leg lift
- Stand behind the chair, feet slightly apart, both hands on the back.
- Slowly lift your right leg out to the side. Keep your back straight and toes facing forward.
- Lower it slowly, then switch legs.
How much: 8 to 10 times each leg
You should feel: The side of your hip working. Your standing leg works too.
Easier: Lift the leg only a few inches.
Harder: Pause for a second at the top.
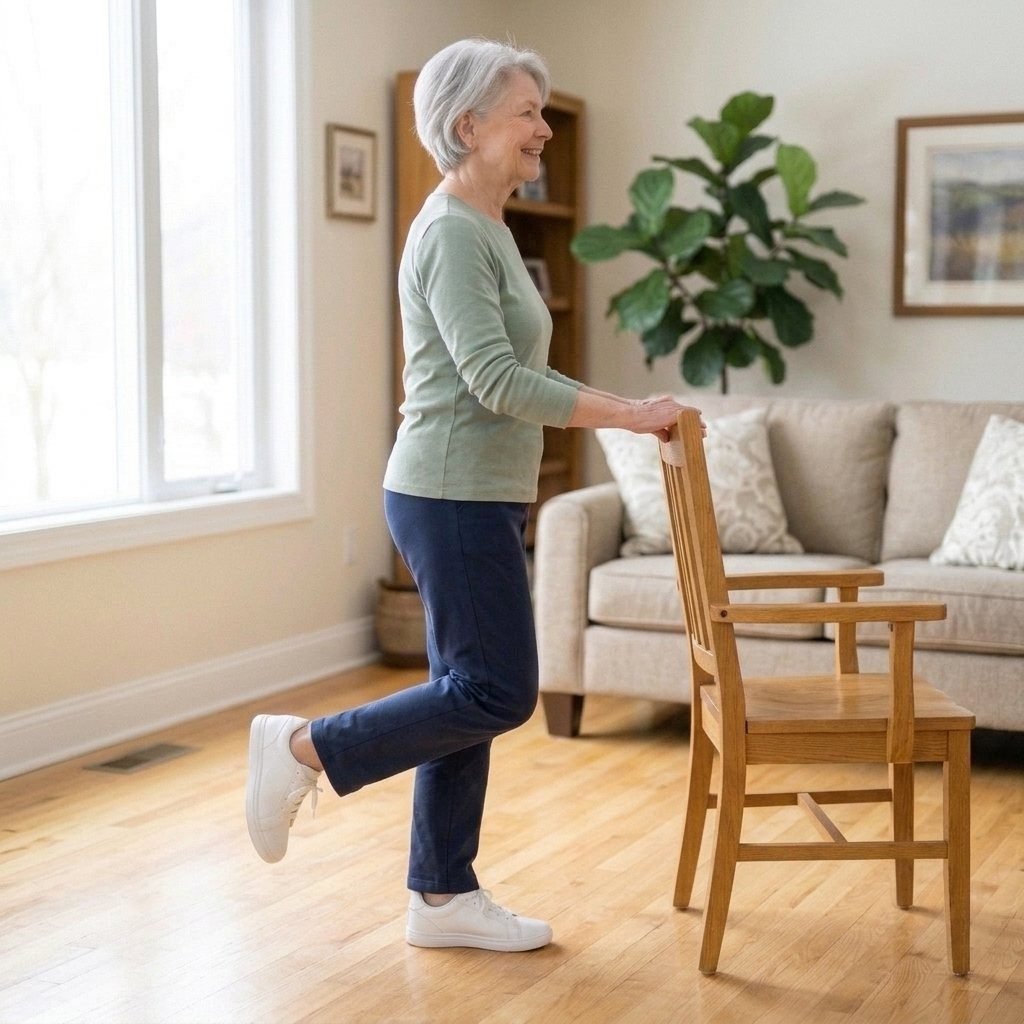
Pose 13 · Standing · holding the chair
Supported balance
- Stand tall behind the chair, both hands on the back.
- Lift one foot a little off the floor and find your balance. Breathe slowly.
- Put it down, then switch feet.
How much: 10 seconds each foot · 3 to 5 times
You should feel: Small wobbles in your ankle. That is your balance working.
Easier: Keep your toes on the floor, only lift the heel.
Harder: Hold with one hand, then with your fingertips. Keep the chair within reach.
A routine you can do today (about 8 minutes)
If you only want to try it once, start with week 1 of our plan: poses 1 to 5, in order, then finish with five slow breaths.
| Pose | How much |
|---|---|
| 1. Seated mountain breath | 5 slow breaths · about 1 minute |
| 2. Neck stretch | 3 breaths each side · 2 times |
| 3. Seated reach up | 5 to 8 times |
| 4. Seated march | 1 minute |
| 5. Ankle flex and point | 5 times each way, then 5 circles |
| Finish: closing breath | 5 slow breaths, hands on your belly |
When this feels easy, follow our free 28-day chair yoga plan for seniors, which adds a few poses each week until you do all 13.
How to print it
- US Letter, 100%. The PDF is made for Letter paper; no need to “fit to page”.
- Black and white works. The photos stay clear, and the text is large.
- Print the 28-day chart twice: one for your fridge, one for a friend who might join you.
- Prefer a screen? The PDF also reads well on a tablet propped up on the table.
- For a group at a senior center or care home, print one copy per person. You are welcome to share it.
Who chair yoga suits
Chair yoga suits people who find it hard to get down to the floor, who feel unsteady standing, who are starting again after a long break, or who simply want a quiet ten minutes in the day. It is also popular in senior centers and care homes, where a printed sheet is easy to hand out.
It does not replace the rest of your week. The CDC says adults 65 and older need aerobic activity such as brisk walking (150 minutes a week), muscle-strengthening activities on 2 or more days, and balance activities. Poses like the chair pose and the supported balance count toward the last two. A daily walk adds the rest.
Looking for simple exercises rather than yoga? Our chair exercises for seniors PDF has 7 moves in 15 minutes or less.
Questions about chair yoga for seniors
For many people, yes. It is gentle, you can do it at home, and the chair takes away much of the fear of falling. The NIH’s National Center for Complementary and Integrative Health calls it a gentler option for seniors with limited mobility. Ask your doctor first if you have a health condition.
Little and often works best. Our plan suggests 5 days a week, 8 to 16 minutes a day, with 2 easy days. Even 2 or 3 days a week is a good start.
Most of these poses put no weight on the knees. Keep the leg extension small, use the Easier options and skip anything that hurts. If you have had a knee replacement, ask your surgeon or physical therapist which poses suit you.
A sturdy chair with no wheels, ideally with armrests, pushed against a wall. A kitchen or dining chair is usually fine. Avoid soft armchairs, folding chairs and office chairs on wheels.
Yes. Enter your email and we send you the PDF; you can also open it right away on the page. There is no app and no subscription.
Yes. Print it for family, friends, senior centers and care teams. Please keep the MONKIKA footer on the pages so people can find the free download again.
Print it, share it, tick it off.
The free 14-page PDF: 13 gentle chair yoga poses with photos, a routine for each week and a 28-day chart.
Sources
- National Center for Complementary and Integrative Health (NIH): Yoga for Health
- National Institute on Aging (NIH): Workout to Go (NIH Publication No. 11-4258)
- Centers for Disease Control and Prevention: Older Adult Activity, An Overview
- Mayo Clinic: Exercising with osteoporosis, stay active the safe way
This guide is for general information. It is not medical advice. Photos are illustrative images created for this guide. MONKIKA products are wellness devices for comfort and relaxation, not medical devices, and are not intended to diagnose, treat, cure or prevent any disease. If you have a medical condition, recent injury or surgery, ask a healthcare professional before starting a new exercise routine or using heat or massage.

